NEWS TAG
brand
How to Install ESD Vinyl Flooring Correctly & How To Weld Anti-static PVC Floor Tile?
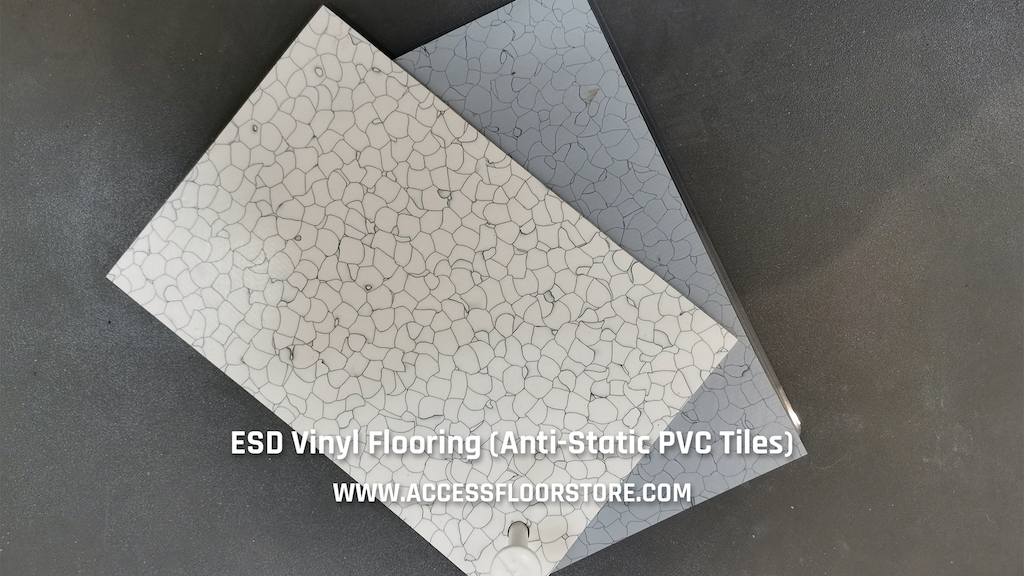
Anti-static PVC flooring is widely used in hospitals, computer rooms, and data centers due to its practicality and static conductivity. But if you want to effectively play the antistatic performance of ESD Vinyl Flooring Tiles, you must follow the correct way to install vinyl tiles. So how to install anti-static PVC floor properly?

ESD Vinyl Flooring Tile (Anti-Static PVC Tile) Installation Guide & Tips
1. Preparation before installation:
1) Clean the ground
PVC anti-static floor has high requirements for the flatness of the ground. Therefore, before installation, it is necessary to ensure that the construction ground is clean, durable and clean, and has high flatness without cracks. Potholes or cracks need to be filled and leveled to prevent the PVC floor from being crushed during future use. The moisture content of the concrete floor cannot exceed 2.5%. The moisture content of gypsum ground shall not exceed 0.5%. Before the floor is laid. If the original ground is uneven, you can also install self-leveling about 2mm and then install it. If it is a non-absorbent floor, such as mineral base, stone, tile, etc., it can be directly paved.
2) Temperature
The vinyl floor tiles must be unrolled in advance at a constant temperature (not lower than 15 ° C) for 24 hours before installation. When installing the floor, the indoor temperature must not be lower than 0 degrees Celsius.
2. Use a special scraper to evenly apply conductive glue on the flat ground. The conductive glue is a water-based glue. When it is brushed on the ground, it is not sticky. After about 2-3 hours, it will become sticky, and the glue will also change from white to transparent.
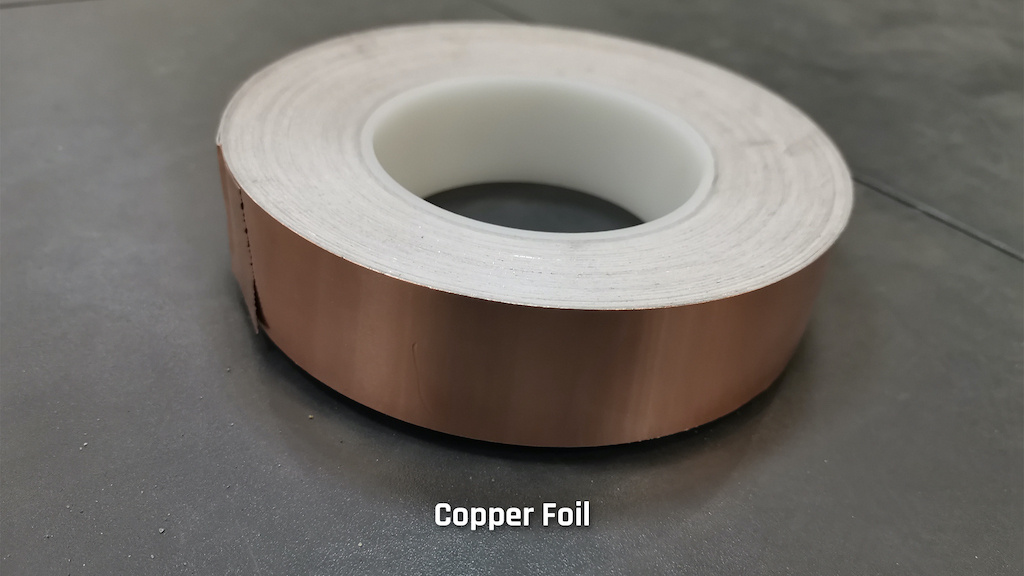
3. Laying conductive copper foil, laying in a zigzag shape, specifications 100mx100mm or 600x1200mm

4. Laying anti-static PVC floor. After waiting for 2-3 hours, check whether the conductive glue is dry and sticky, and then start laying the ESD vinyl floor from a certain corner.
5. Trimming. Use a utility knife to cut a properly sized PVC floor tile for trimming near the wall. Fit as close as possible between the panels to keep the minimum sub-slit.
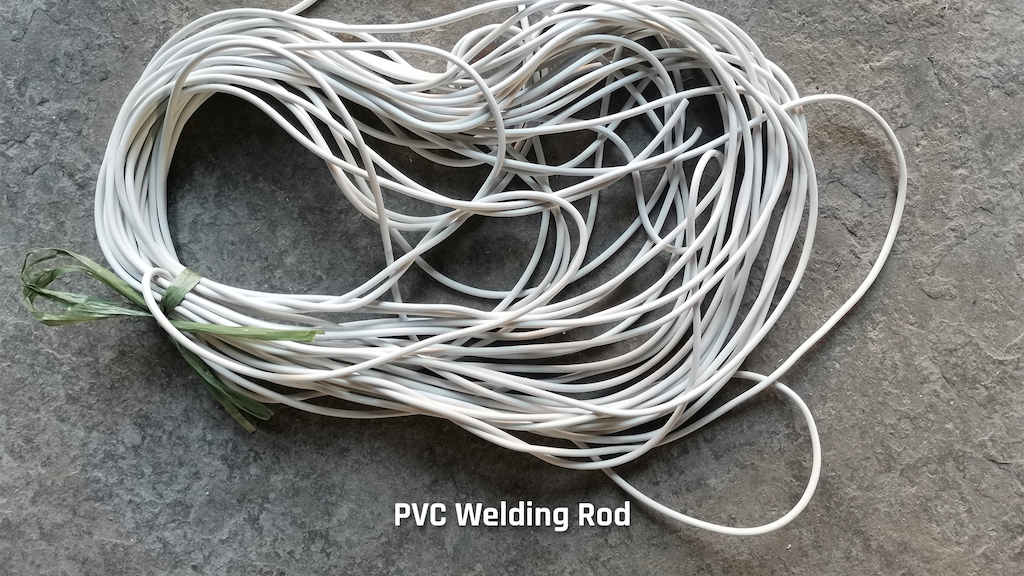
6. Fill the gap with the PVC welding rod between the vinyl flooring panels.

How to Weld Anti-Static Vinyl PVC Flooring Tiles?
1) Welding with manual welding torch or automatic welding equipment is optional.
2) The temperature of the welding gun should be set at about 350 degrees Celsius.
3) At an appropriate welding speed, squeeze the plastic welding rod into the opened groove at a uniform speed.
4) When the electrode is half-cooled, use the electrode trimmer or the moon cutter to roughly cut off the part of the electrode higher than the floor surface.
5) After the electrode is completely cooled, use the electrode trimmer or moon cutter to divide the remaining protrusion of the electrode.
7. Correct and clean up. After the installation of the PVC floor is completed, check for any defects. After making corrections, clean the construction site.
8. Grounding wire treatment. According to the actual situation on the site, a 6-square-meter double-color cable is used to interface with the main ground wire to ensure that there is a ground point for every 100 meters.
